Installing and setting up Immich on MacOS and Android
Installing and setting up Immich on macOS and Android should be a straightforward process. However, I faced so many issues during the installation and setup that I want to share here the steps I followed to make everything work.
Installing Immich on MacOS using Docker #
Initially, I tried to install Immich using Docker following the tutorial on the official documentation. However, the PostgreSQL container was not working correctly, and it was failing with the error “initdb: error: could not change permissions of directory “/var/lib/postgresql/data”: Operation not permitted”. I tried to change the permissions of the folder, but it was not working. After some search, I found someone in a thread on AnswerOverflow having exactly the same issue. In the comments, I also found the solution:
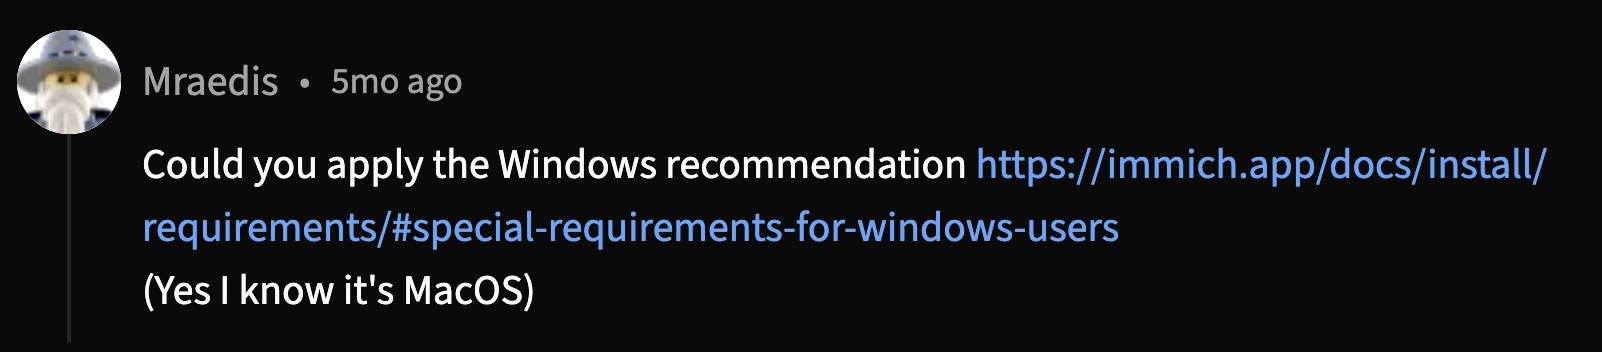
It may seem strange, but I had to go to this page and read what was written in the “Special requirements for Windows users” section to solve the problem. Apparently, the Immich Postgres database must be located on a filesystem that supports user/group ownership and permissions (EXT2/3/4, ZFS, APFS, BTRFS, XFS, etc.). The solution is to change the bind mount to a Docker volume. Therefore, in the .env file, I had to change:
- DB_DATA_LOCATION=./postgres
+ DB_DATA_LOCATION=pgdata
And in the docker-compose.yml file, I had to add:
volumes:
 model-cache:
+ pgdata:
After this small change, I was able to restart again the containers and everything worked fine.

Android Setup #
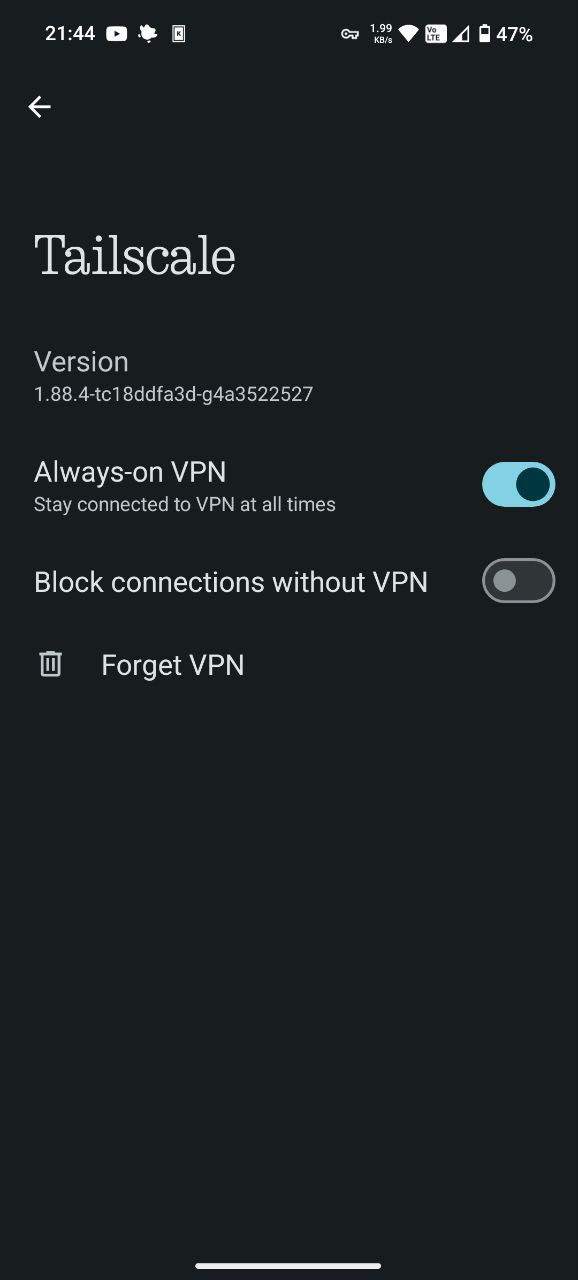
I installed the Immich Android app from the Play Store, and I had two main issues during the setup. First of all, it did not want to connect to the server. I was using Tailscale to connect my Mac Mini and my Android phone to the same network. However, the app was not able to connect to the server using the Tailscale IP address. After some research, I found that Android has an additional setting for the VPN hidden inside the settings of each VPN. Specifically, you have to enable the “Always-on VPN” option. This will allow the Immich app to connect to the server using the Tailscale IP address.
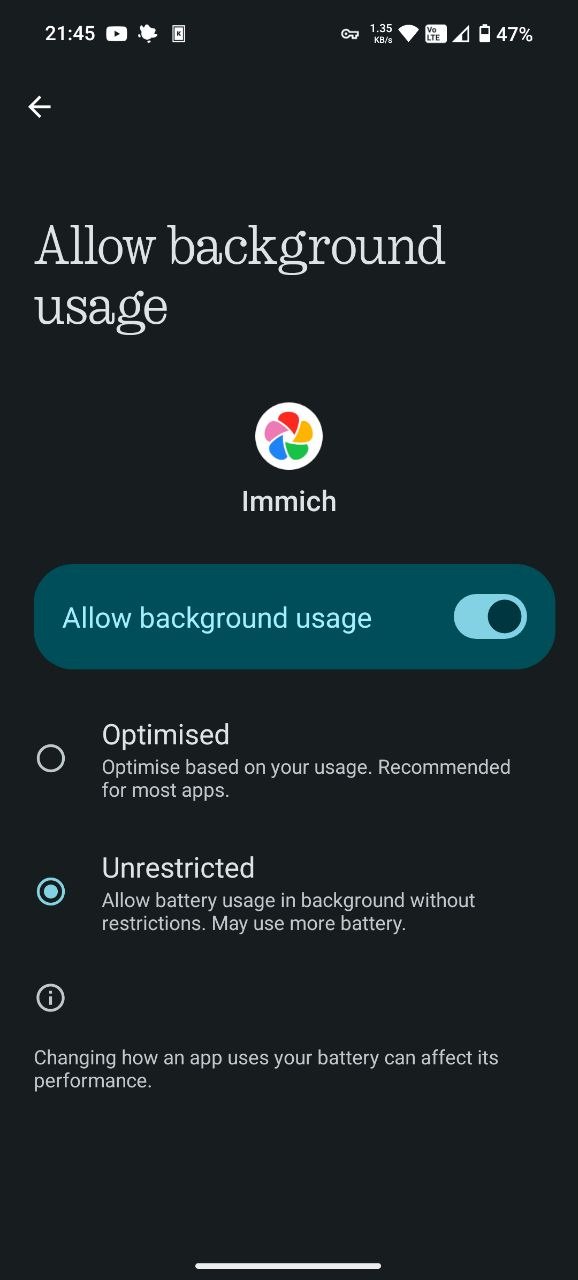
The second issue instead was related to the background upload of the photos. I noticed that even if the phone was connected to WiFi and charging, the app was not uploading the photos in the background. Again, I had to search a bit and make some tests to find the solution. Even in this case, the solution was hidden inside the Android settings. I activated the “Allow Background usage” option, but this was not enough.

Then, I discovered that clicking on the “Allow Background usage” option opens a new page in the Android settings where you have to enable the “Unrestricted data usage” option for the Immich app.
I have to admit that coming from the iOS world, all these options, not only hidden inside the settings but even difficult to find, are a bit confusing. However, after enabling these two options, the Immich app was able to upload the photos in the background without any issues.